

Team /
Okta Setup for SAML
The following steps guide you through configuring SAML authentication with Okta. Ensure you have the necessary permissions and access to Okta.
Sign in to Okta
- Go to the Okta portal at https://login.okta.com (opens new window).
- Log in using your credentials.
- Click on Admin to access the Admin dashboard.
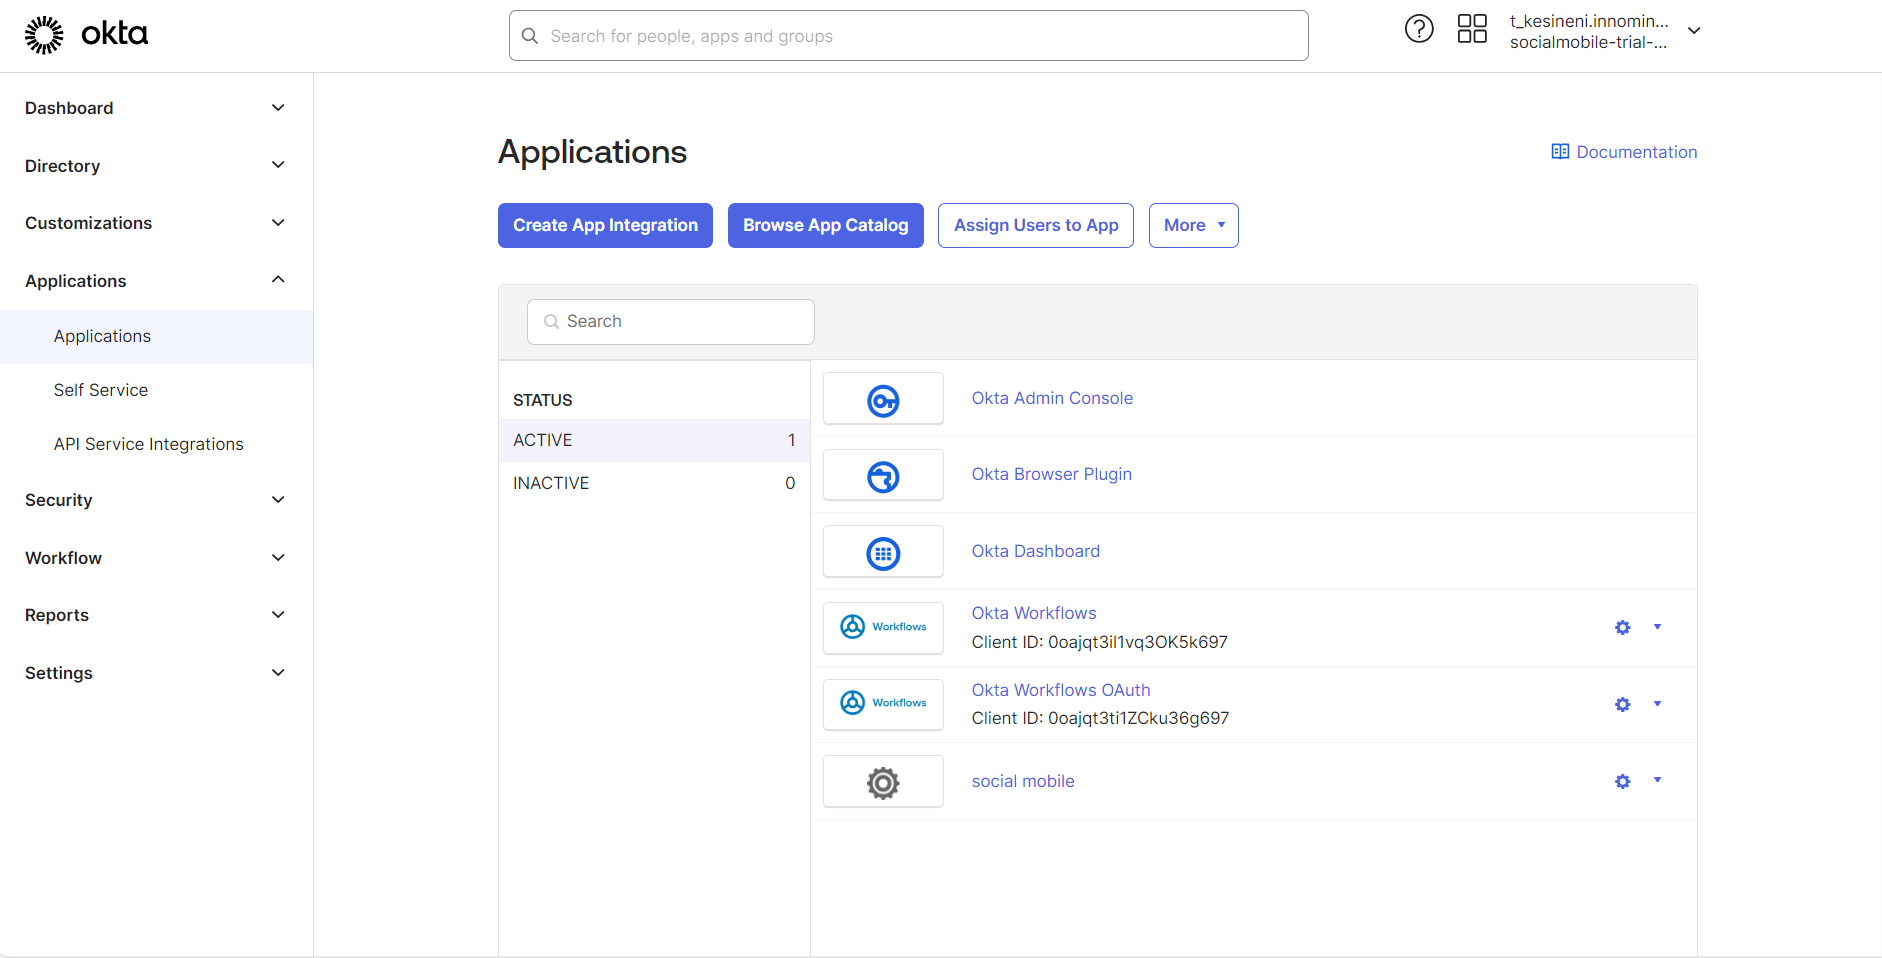
Create a New Application
- Navigate to Applications → Applications.
- Click on the Create App Integration button to start the process.
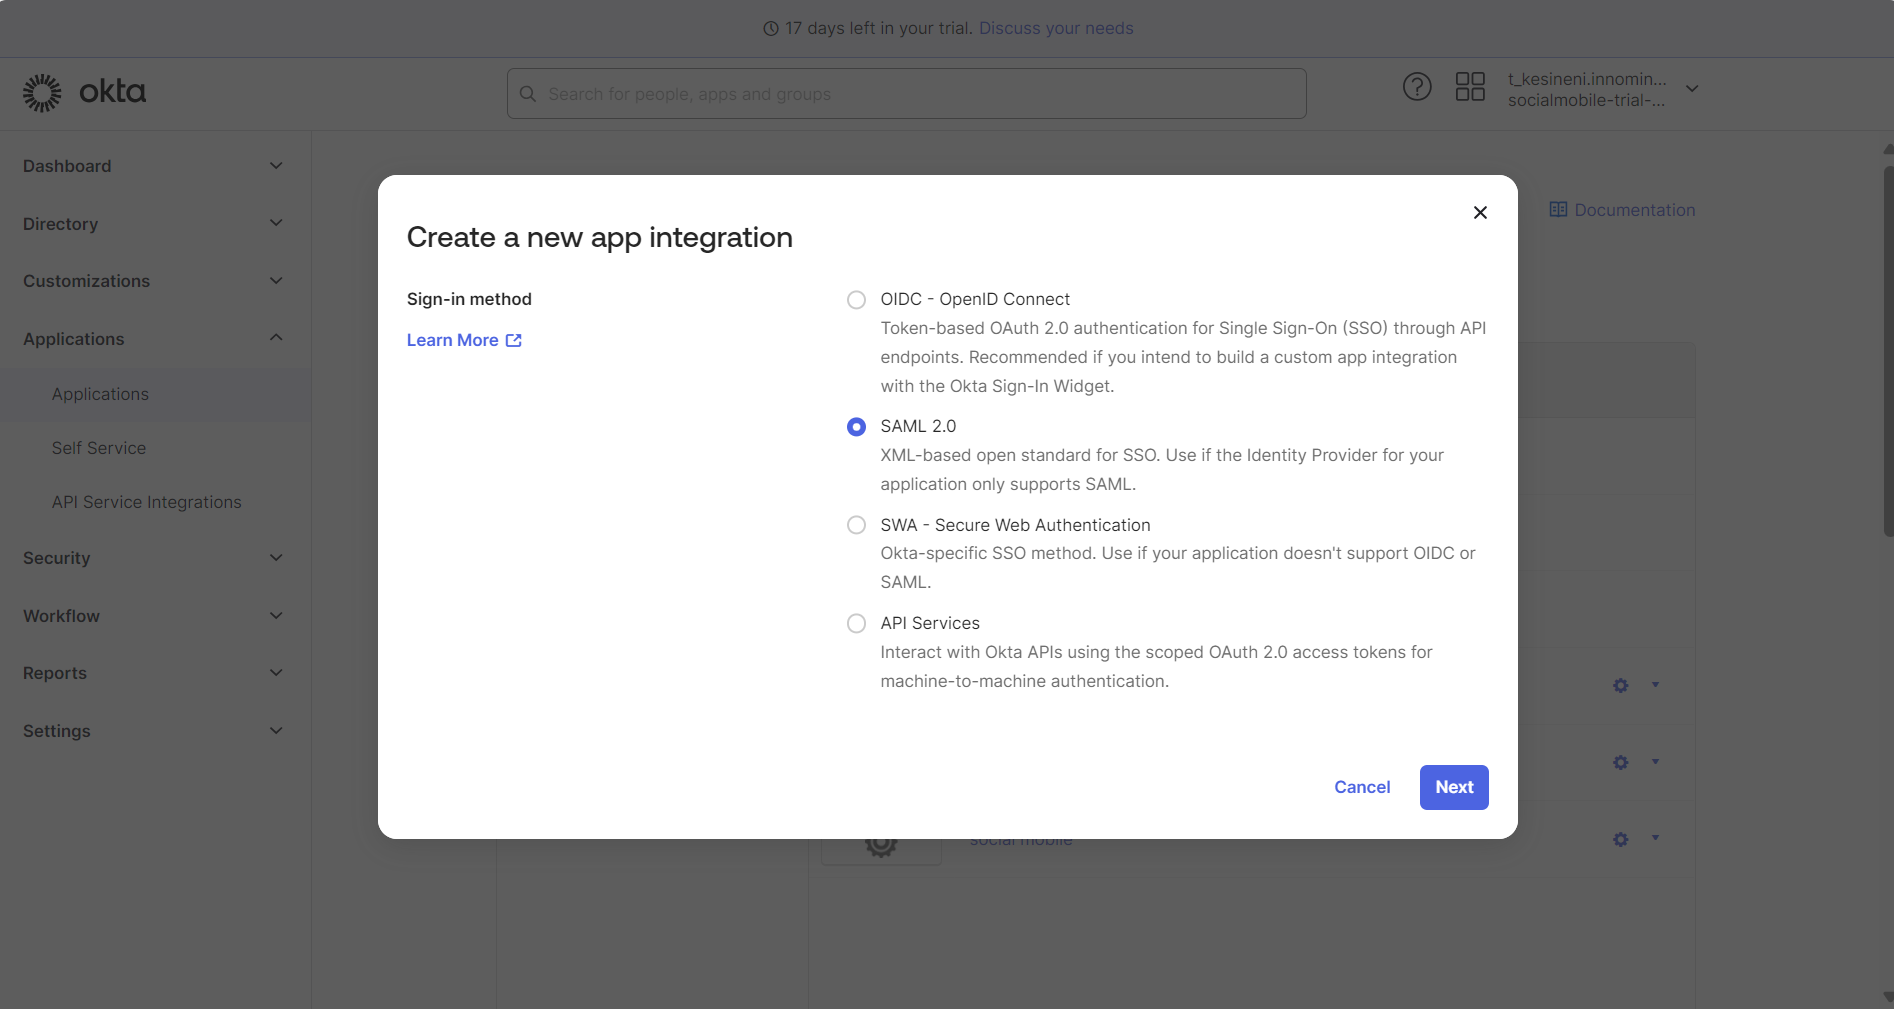
- Once you click the Create App Integration button, a dialog will appear to choose the type of integration.
- In the dialog, select SAML 2.0 and click Next.
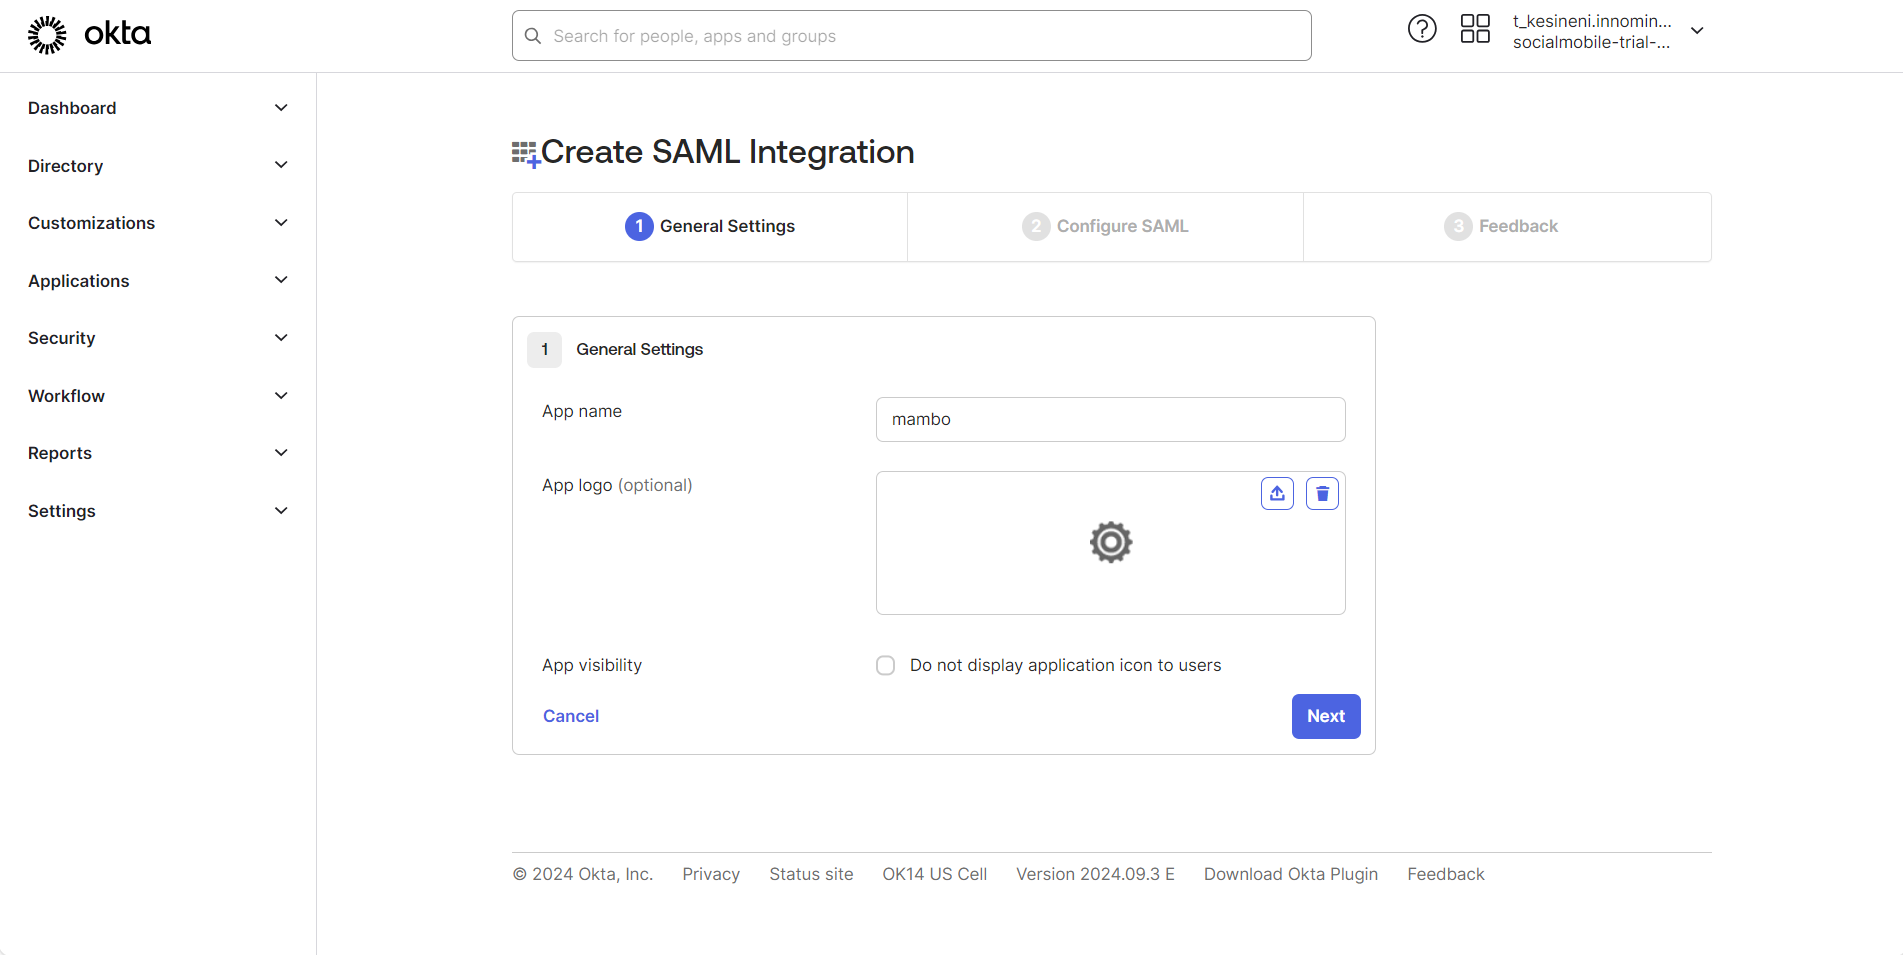
Configure the Application
Provide a name for the application and click Next.
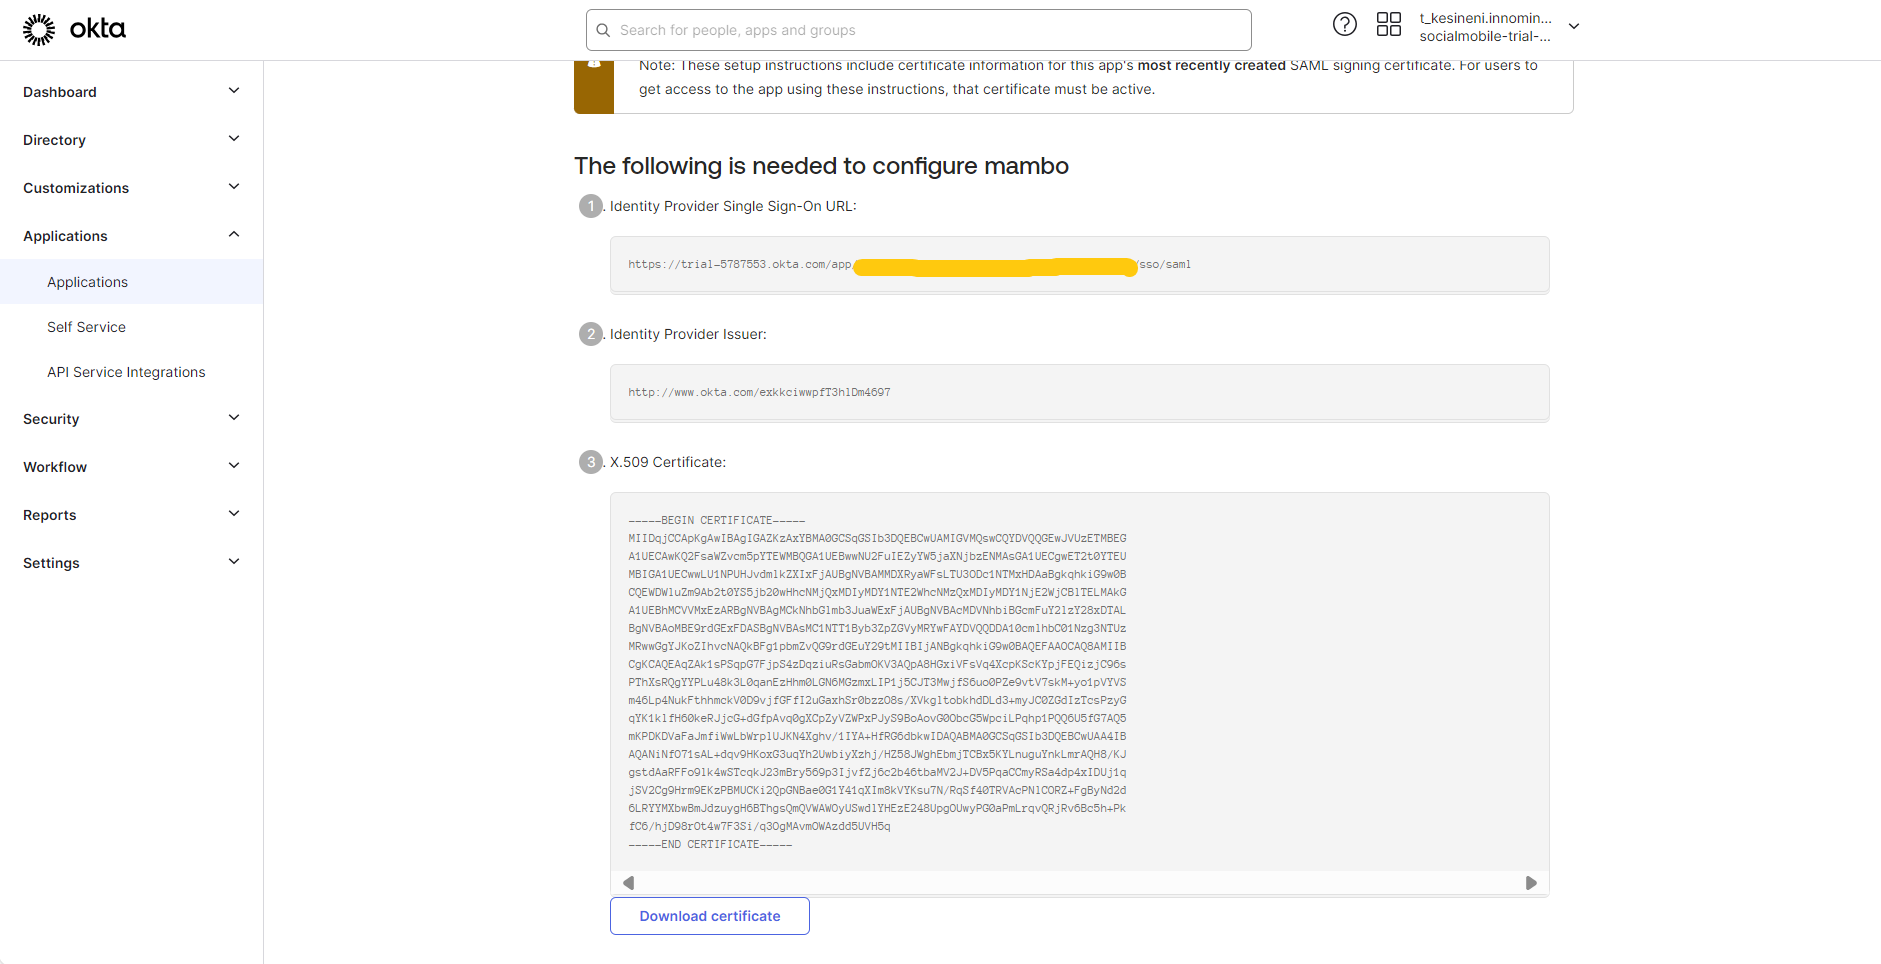
Provide values for the Single-sign-on URL and Audience URI (SP Entity ID) from the mambo portal.
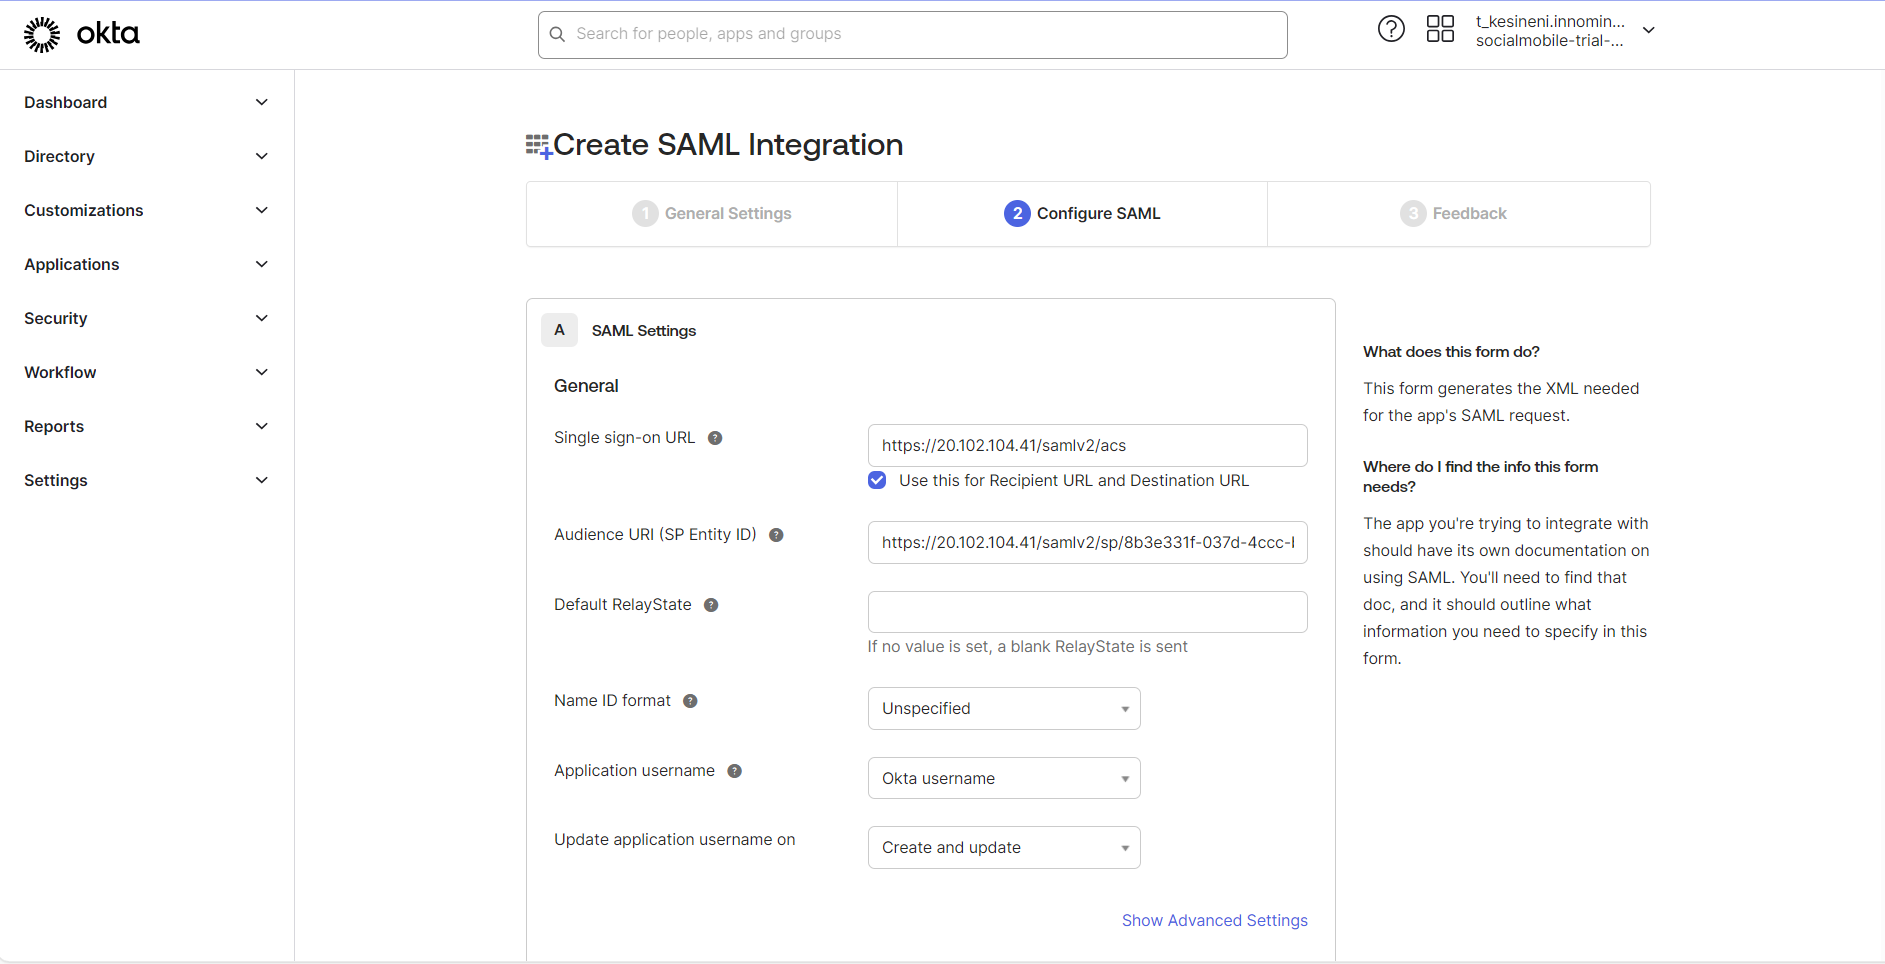
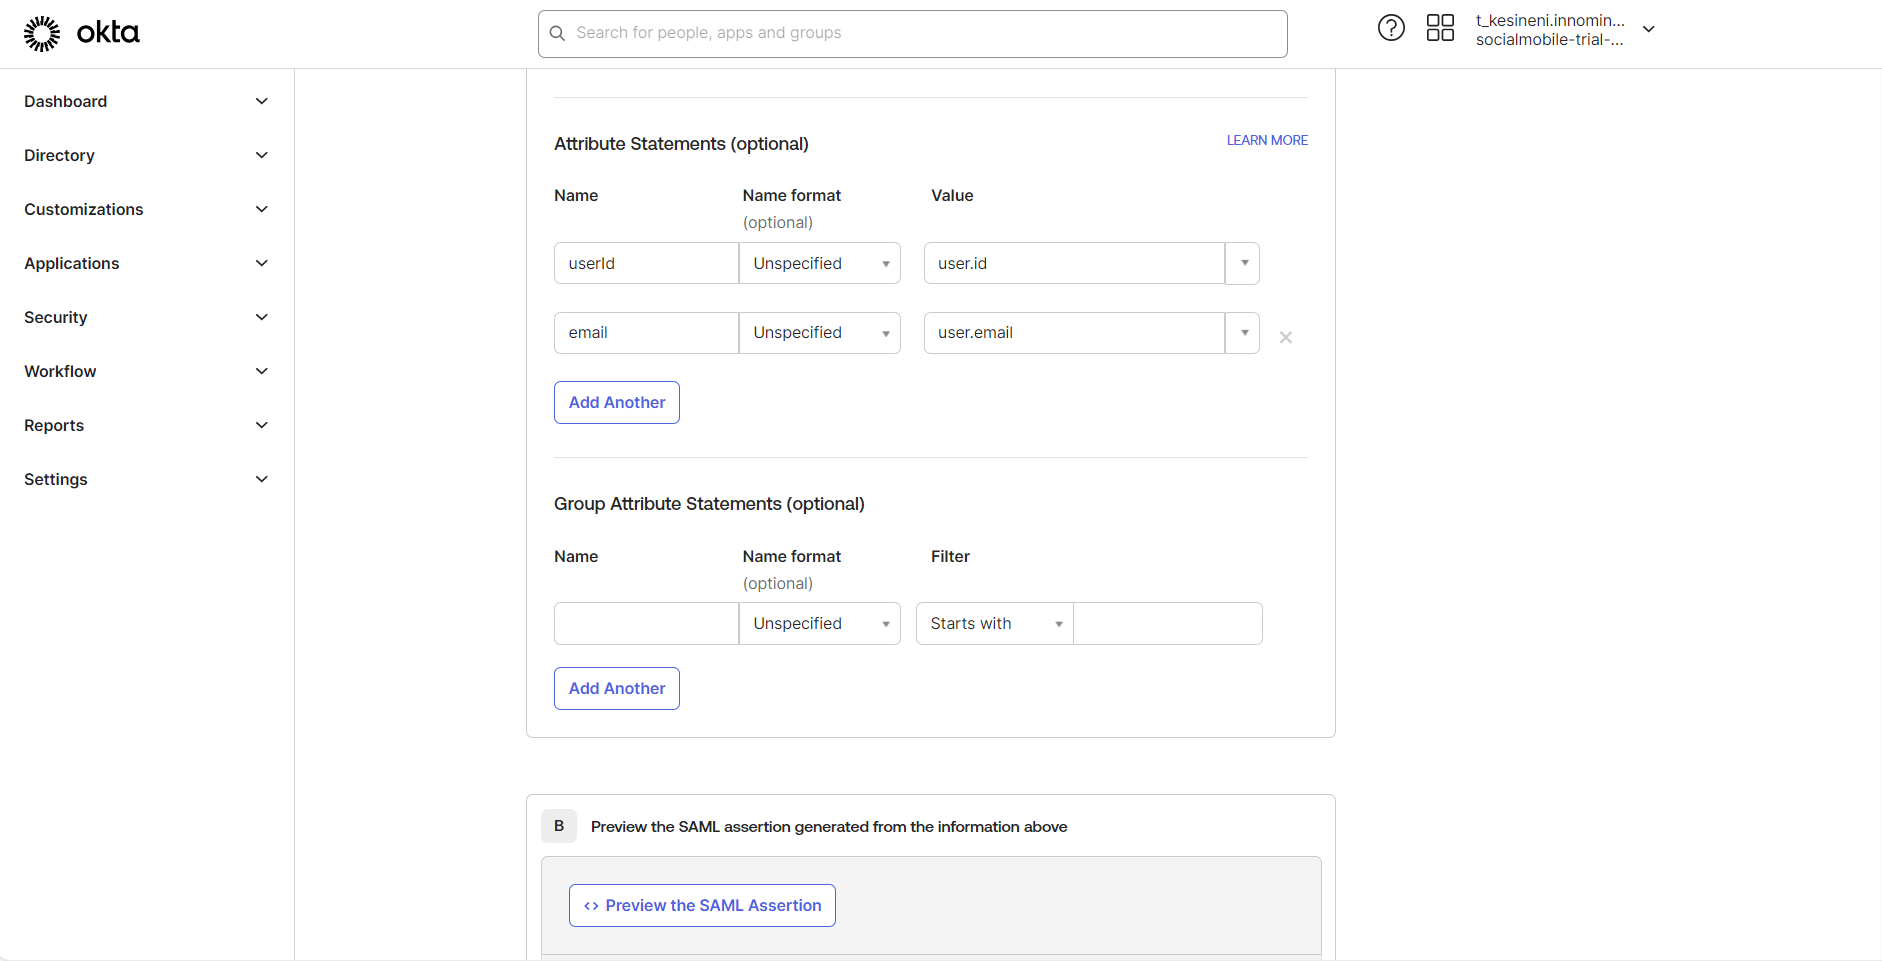
Under Attribute Statements, add the following:
user.id: Use Okta's user ID.user.email: Use Okta's user email. You'll need to provide these attribute mappings to mambo portal.
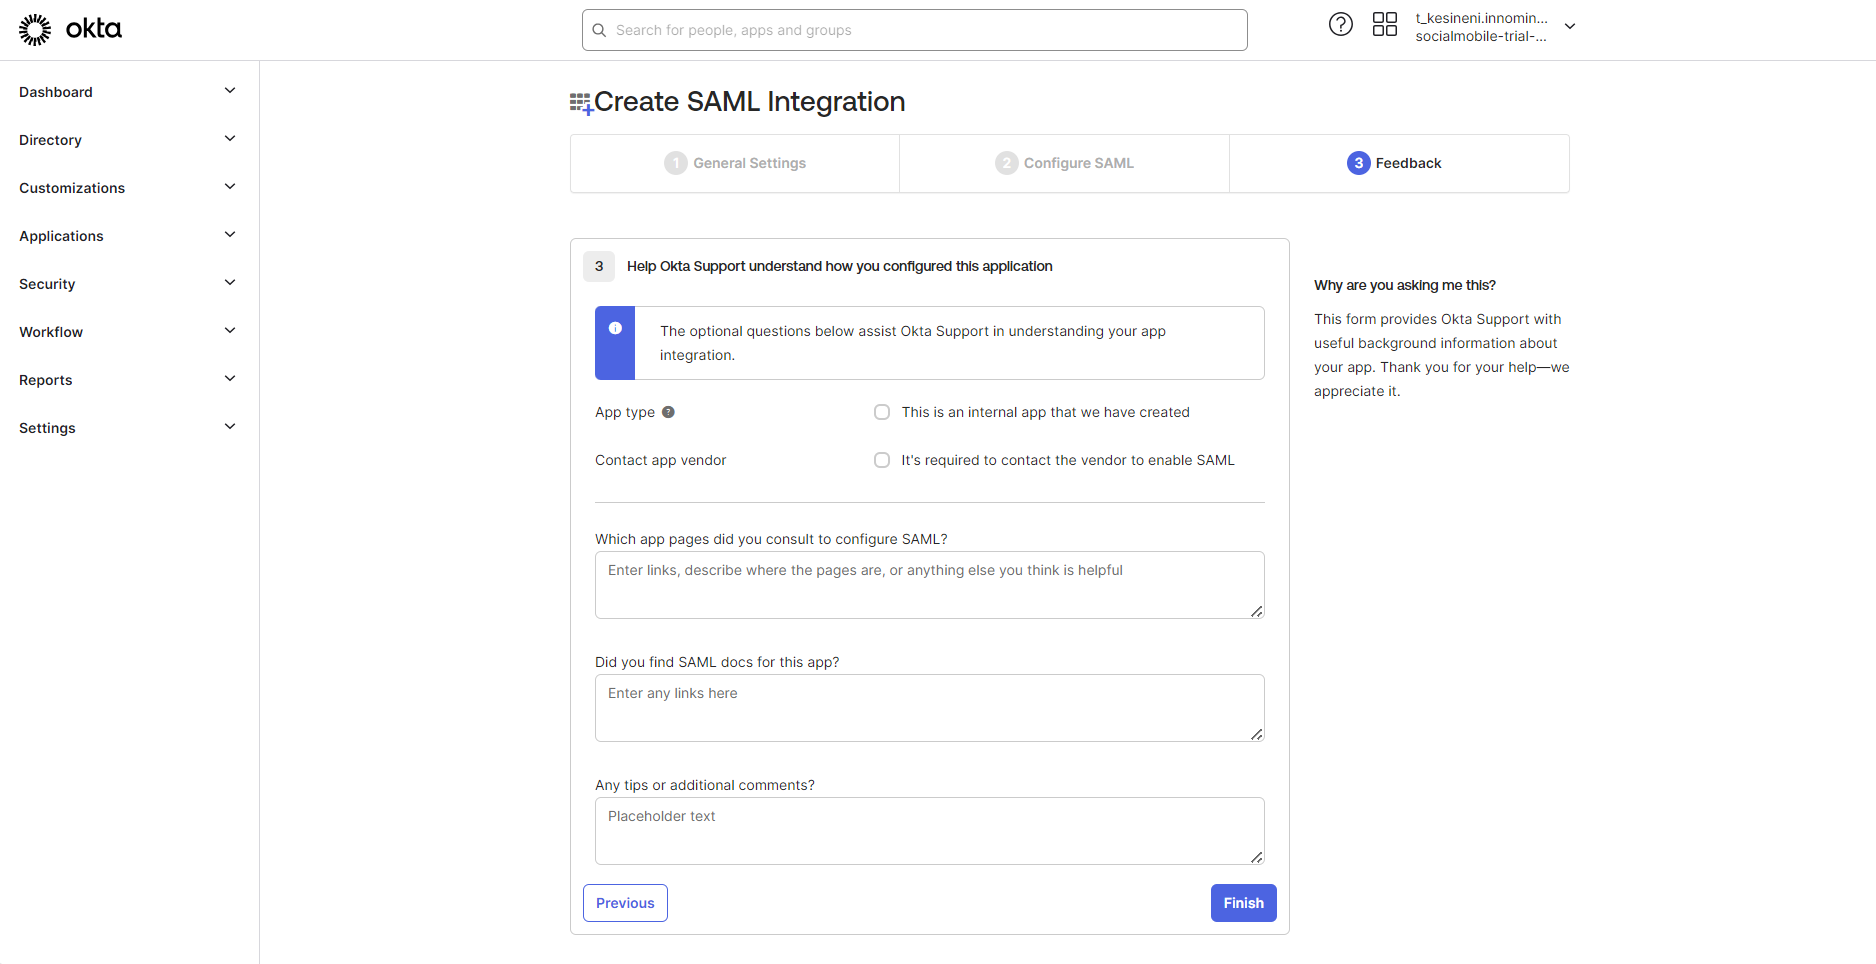
Click Next, select your feedback preference, and click Finish.
On the confirmation page, click View Setup Instructions.
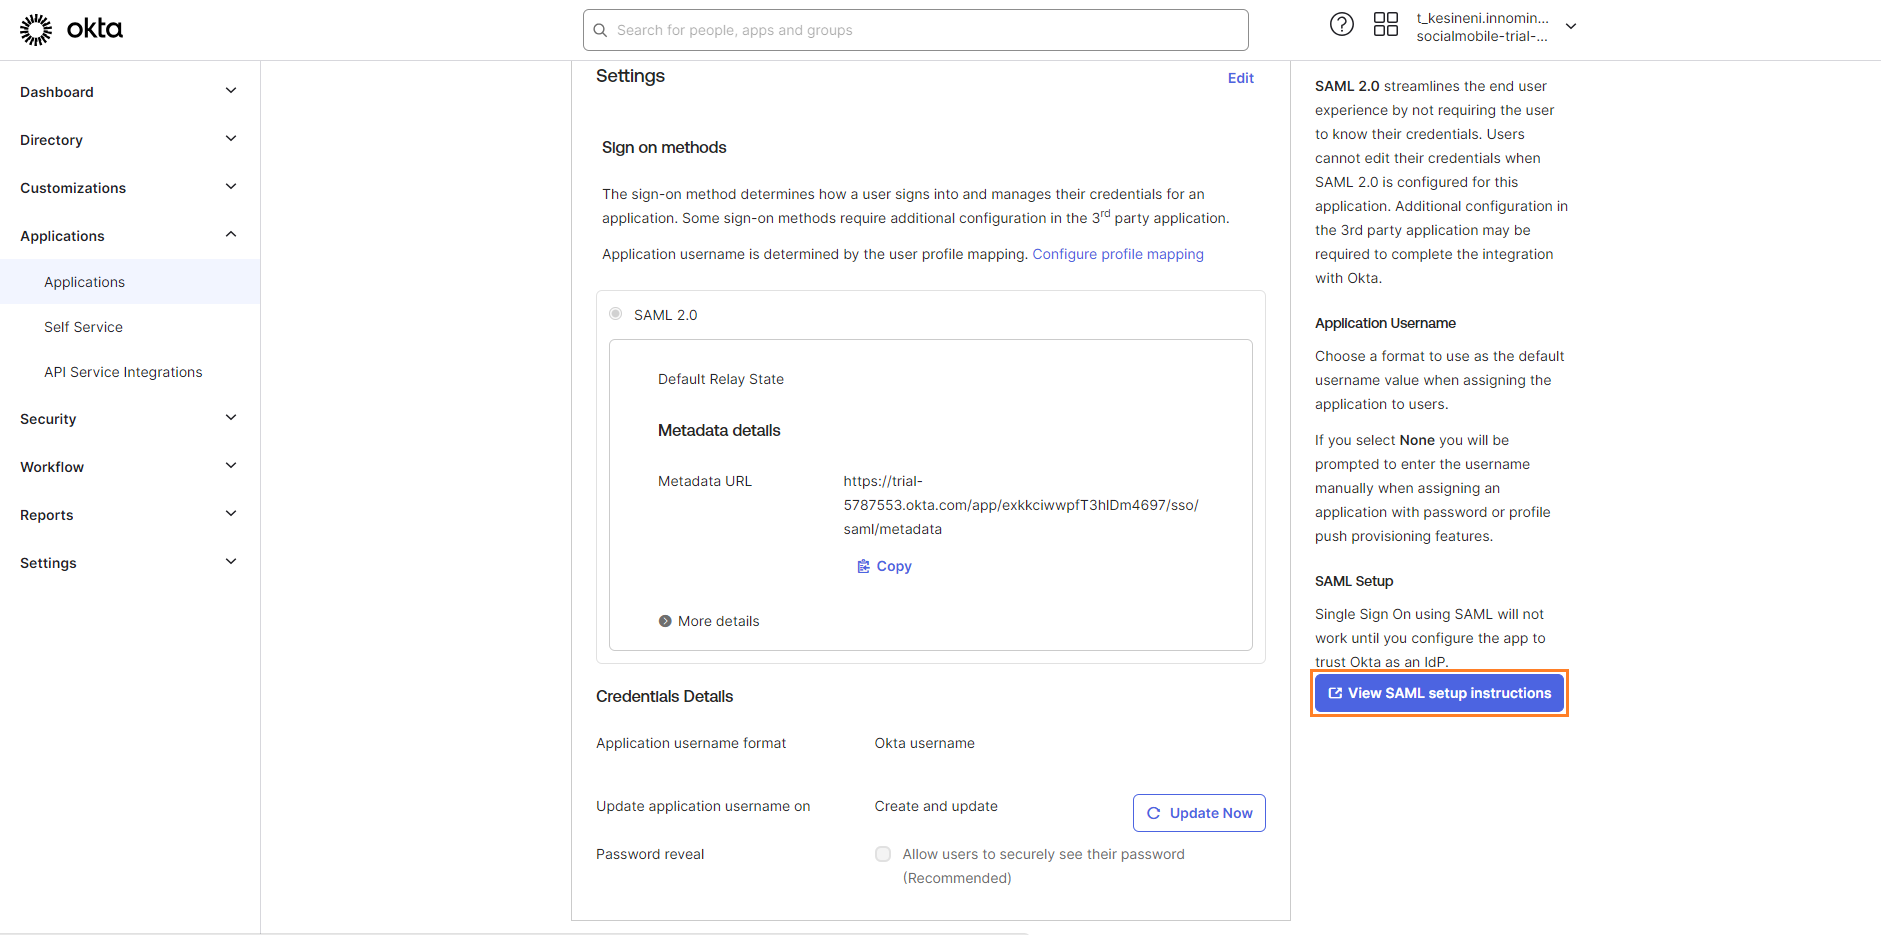
Record the SAML details. These will be needed to complete the configuration on our mambo portal side.
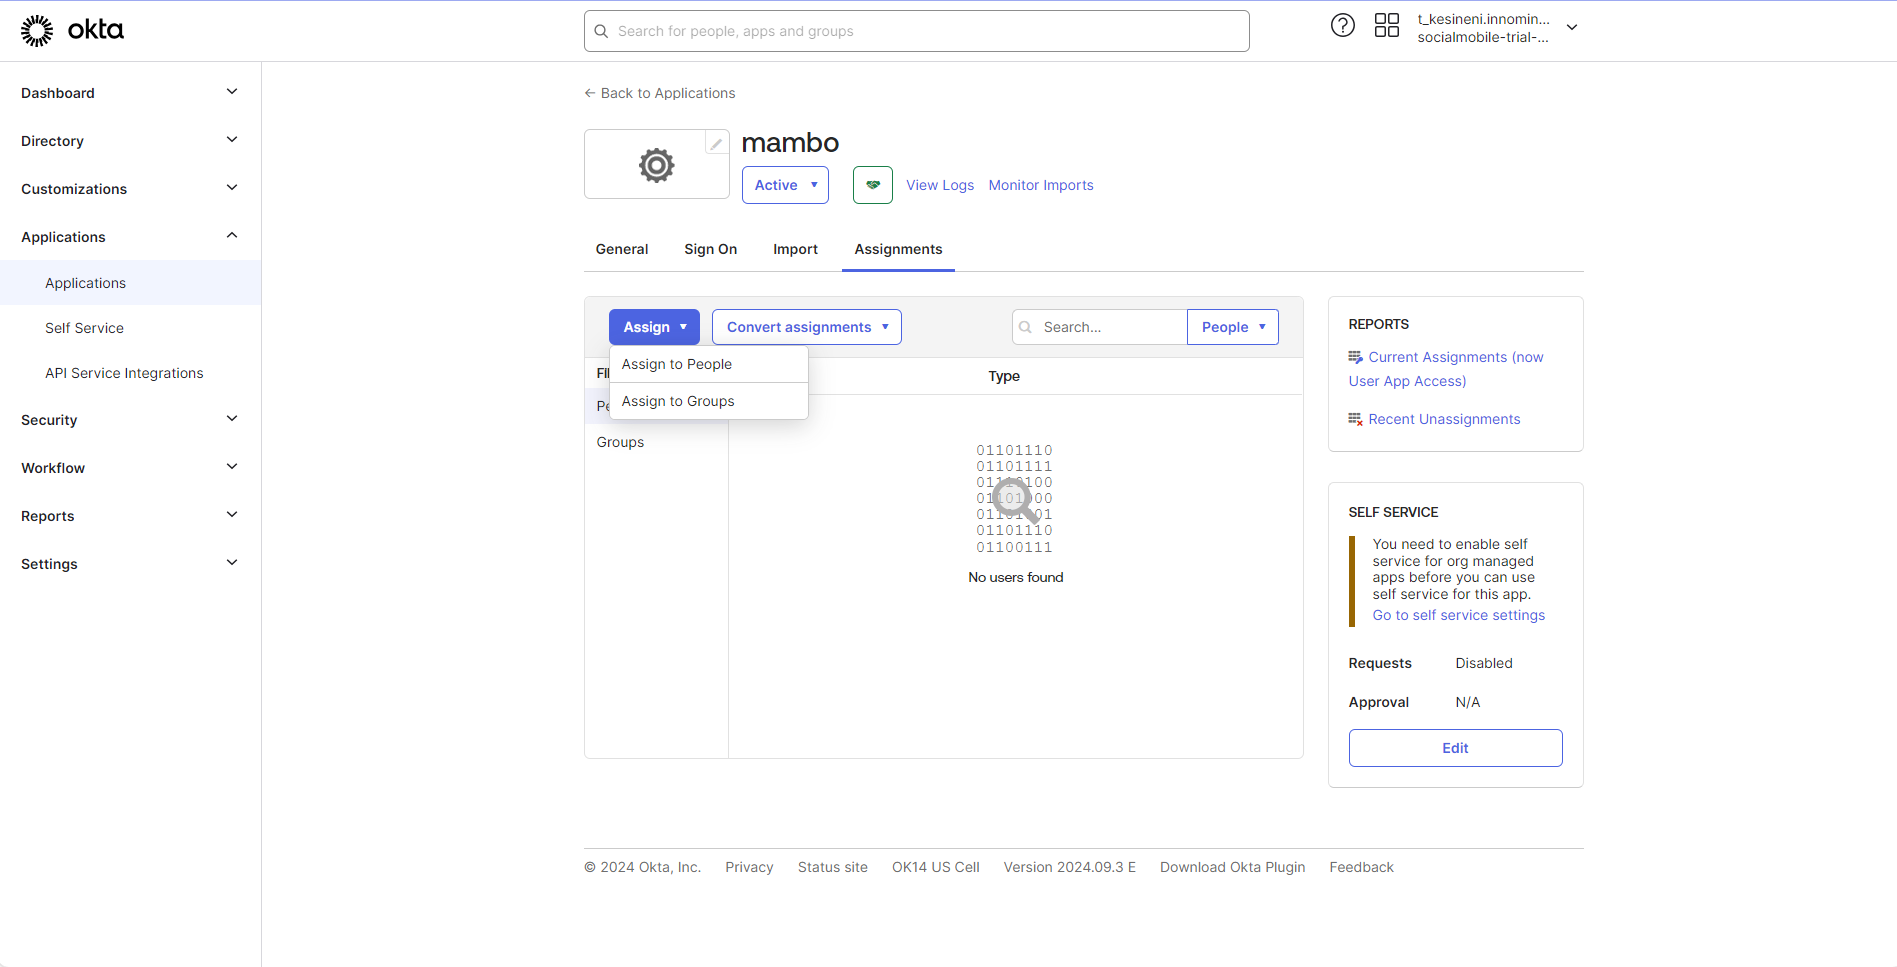
Assign Users to the Application
Make sure you assign the Required Users by selecting Assignments tab.
Final Steps
Once the application is configured here, complete the integration by providing the SAML details in the Mambo portal.