Keycloak Setup for SAML
The following steps guide you through configuring SAML authentication with Keycloak using the Mambo Initiated flow. Ensure you have administrator access to your Keycloak realm and the Owner role (or equivalent SSO permissions) on your mambo EMM team.
In Keycloak, mambo EMM is registered as a Client, not under Identity providers. The Identity providers screen is for Keycloak delegating to other logins and is not used here.
Create a SAML Client in Keycloak
-
In the Keycloak Admin Console, select your realm from the dropdown at the top left.
-
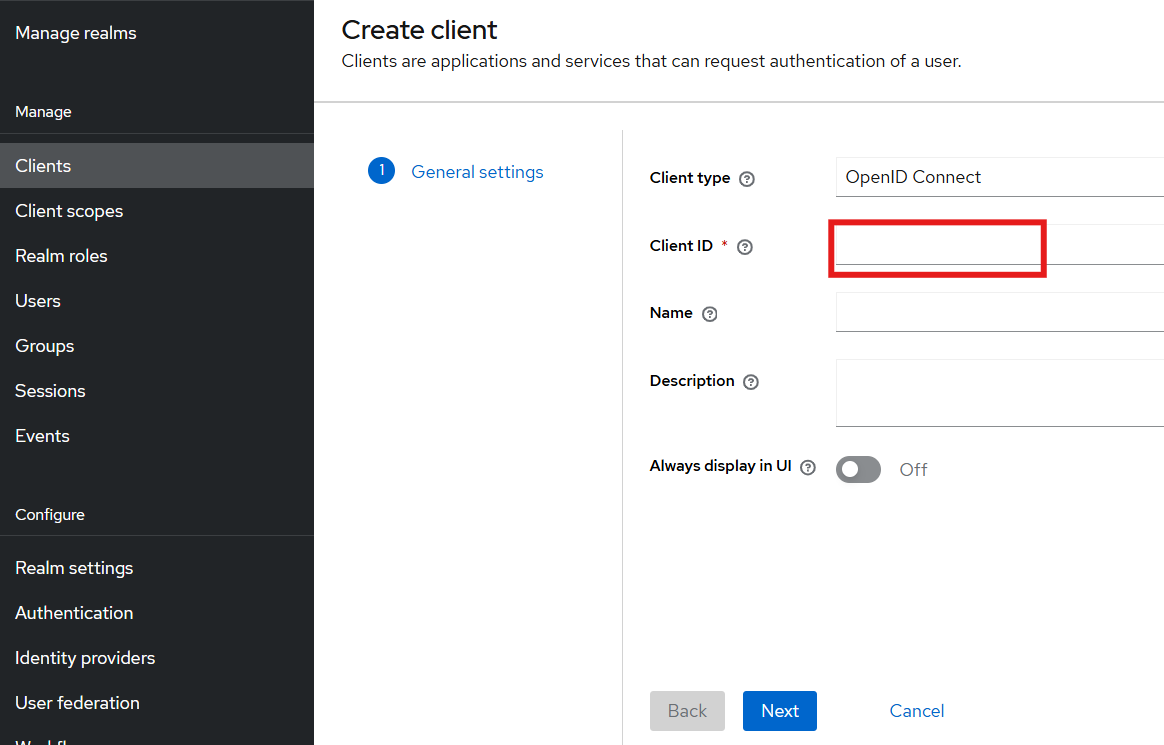
Go to Clients → Create client.
-
Set Client type to SAML.
-
In Client ID, paste the Client ID (SP Entity ID) value from the mambo portal. Optionally set a Name such as
mambo EMM. Click Next.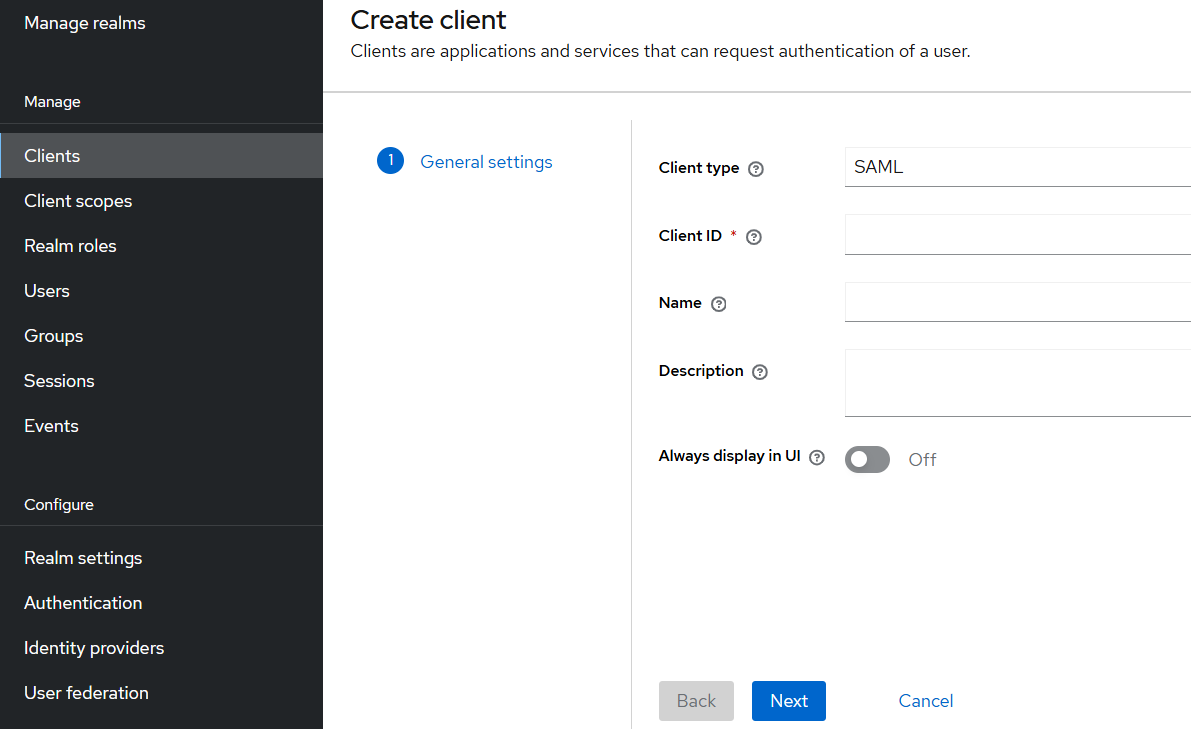
-
Under Login settings:
- Valid redirect URIs: paste the mambo EMM ACS URL.
- Master SAML Processing URL: paste the same ACS URL.
- Click Save.
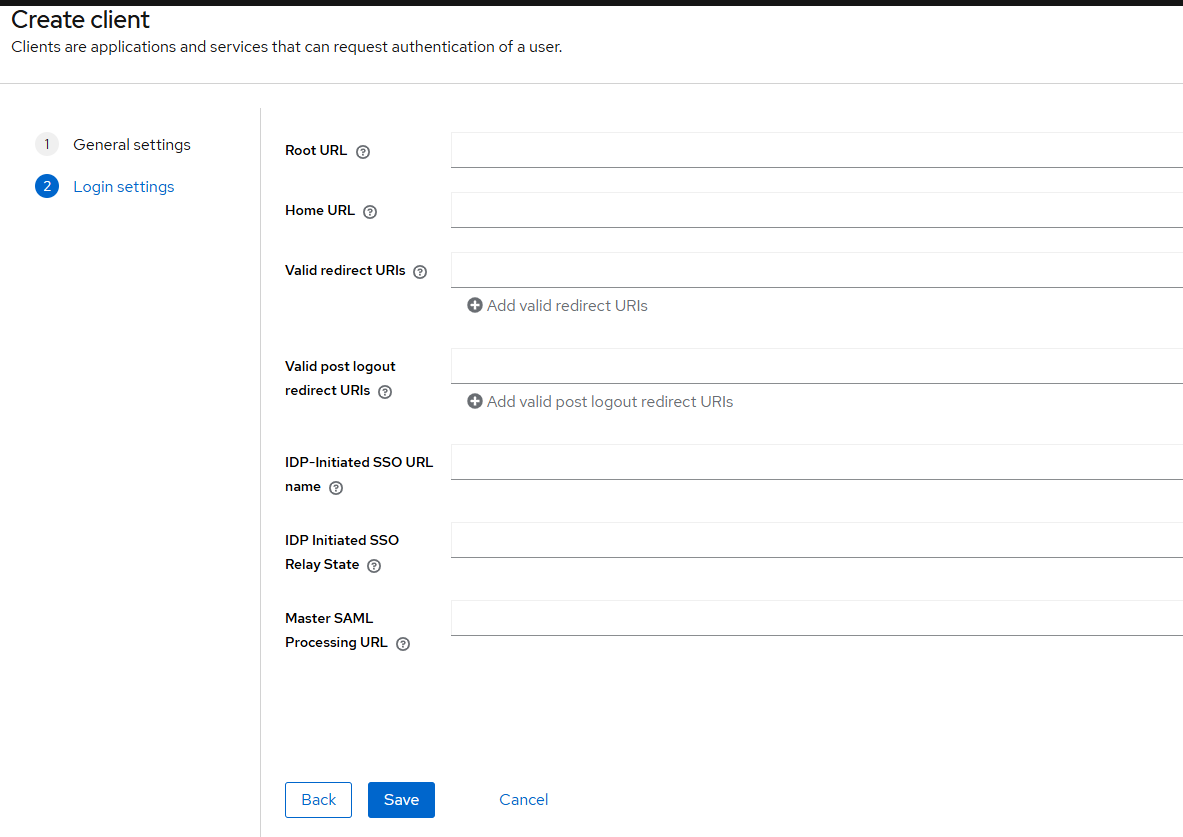
Tip: instead of steps 3 to 5 you can use Clients → Import client and provide the mambo EMM Metadata URL to auto-fill the Client ID and ACS URL.
Configure Signing and the Email Attribute
- Open the client's Settings tab and set Name ID format to
email. Keep Sign documents enabled. Click Save. - Open the client's Keys tab and turn Client signature required off. Click Save.
- Open the client's Client scopes tab and click the dedicated scope (named
<your-client>-dedicated). - Click Add mapper → By configuration → User Property and enter:
- Name:
email - Property:
email - SAML Attribute Name:
email - SAML Attribute NameFormat:
Basic
- Name:
- Click Save.
Get the Login URL and Certificate from Keycloak
-
Login URL: go to Realm settings → General, find the Endpoints row, and open SAML 2.0 Identity Provider Metadata. Use the
SingleSignOnServiceLocation value. It has the form:https://<your-keycloak-host>/realms/<realm>/protocol/saml -
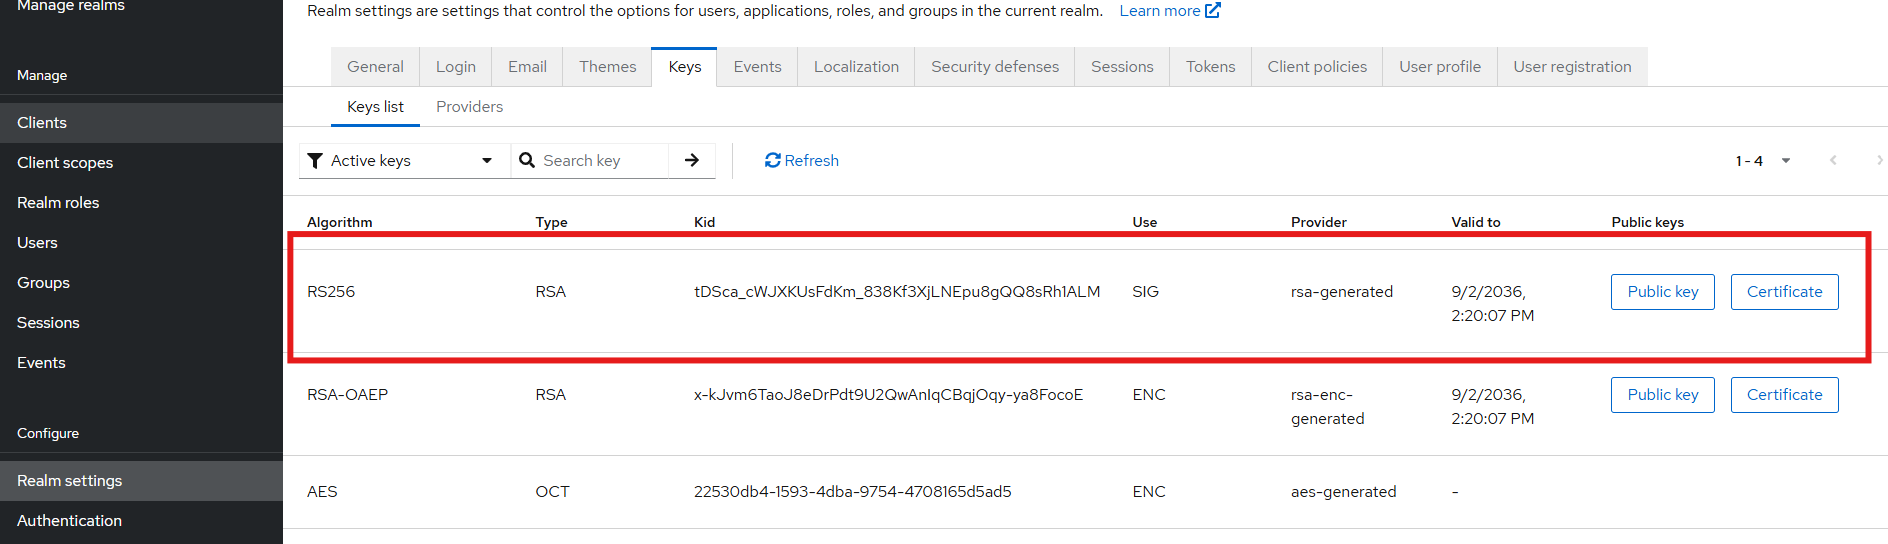
Certificate: go to Realm settings → Keys, locate the active RS256 signing key, click Certificate, and copy the full certificate text.
Add a User in Keycloak
mambo EMM does not auto-create accounts, so the signed-in user's email in Keycloak must match an existing mambo EMM team member.
-
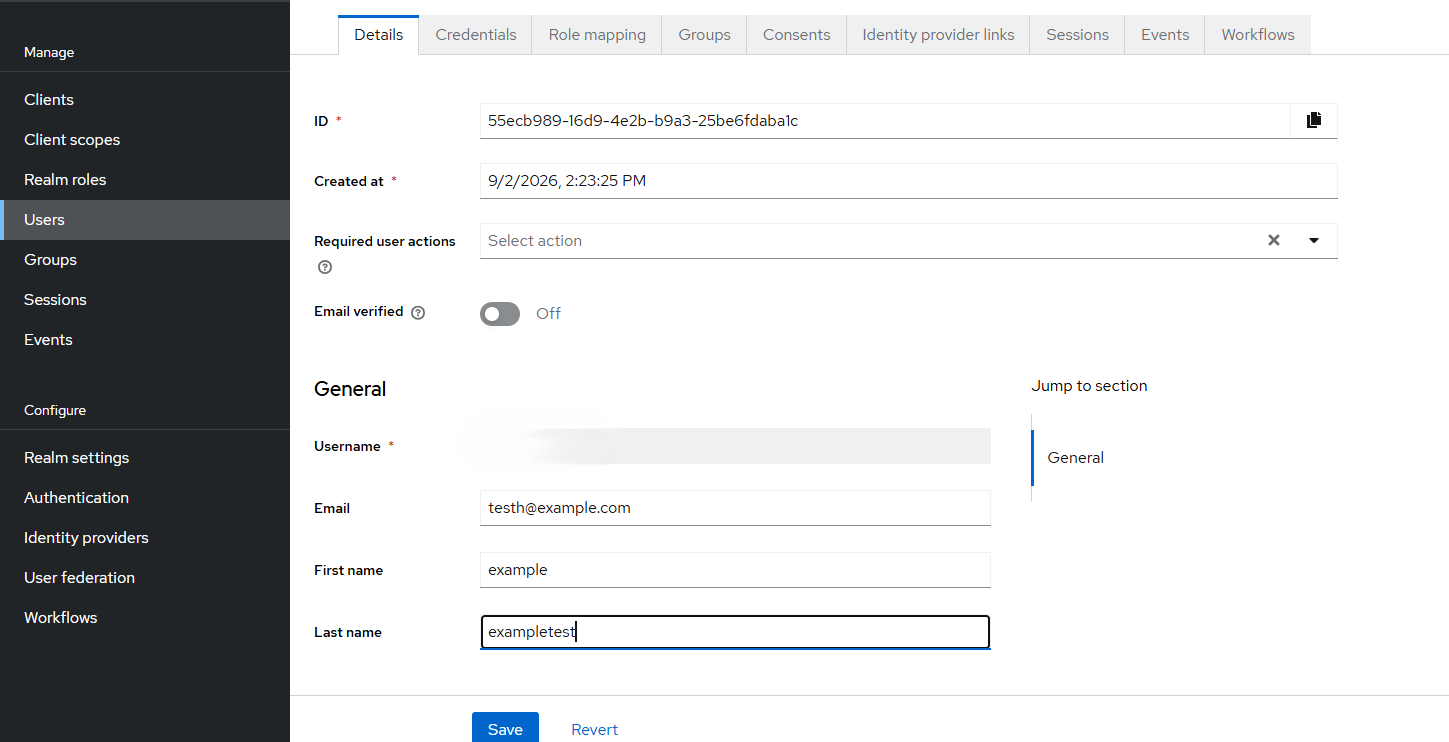
In Keycloak, go to Users → Add user. Set the Email to the address of an existing mambo EMM team member, turn on Email verified, and click Create.
-
On the user's Credentials tab, set a password (turn Temporary off).
Keep Everything in the Same Realm
The Login URL, Certificate, and the SAML client must all belong to the same Keycloak realm. If you use a dedicated realm per team, take the Login URL and certificate from that realm's Realm settings so master and your custom realm are never mixed.
Final Steps
Once the client is configured here, complete the integration by providing the Login URL and Certificate in the mambo portal (navigate to Team > Settings > SAML (SSO)), then enable the provider.